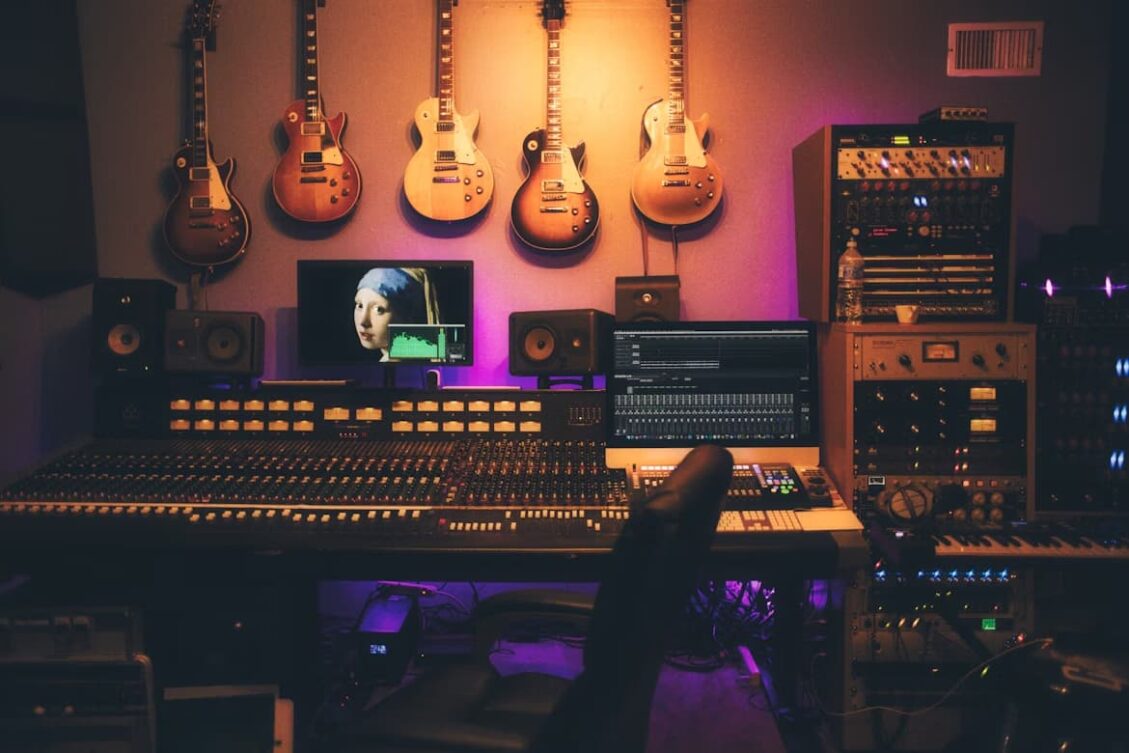
Building a home studio involves more than purchasing high-end monitors and microphones. Major professional upgrades begin with proper acoustic treatment at your home studio.
Thankfully, you don’t need to break a bank to optimize your home studio. This article shows you how to conduct deep acoustic treatment for your home studio and eliminate echoes, excessive reverberation, and frequency imbalances with cost-effective and verified solutions.
What Does Acoustic Treatment for Home Studio Mean?
When people conduct acoustic treatment on their home studio, they improve the internal sound environment to control various factors that affect sound quality. These variables include:
- Standing waves and bass accumulation in room corners.
- Controlled diffusion to maintain a natural and comfortable ambiance.
- Early reflections that create sonic smearing.
- Excessive reverberation that diminshes clarity.
Soundproofing vs Acoustic Treatment
Chances are you’ve heard someone (or even yourself) use the terms soundproofing and acoustic treatment interchangeably. They couldn’t be farther from the truth. Although both are related music clean-up terms, how they differ distinctly in process and effects.
With soundproofing, we’re blocking out sound that travels IN and OUT of the studio. Materials used for soundproofing include heavy/dense on-the-wall materials or air-toght sealants across gaps in doors and windows.
The main advantage here is, you get to record whenever you are want with no worries about you disturbing your neighbors – or vice versa. However, while soundproofing is preventive, acoustic treatment is curative.
Acoustic treatment ONLY controls reflections INSIDE the room towards making improved surrounding recordings. Both acoustic treatments and soundproofing activities are useful for improving music quality. Yet, neither can take the other’s place.
Things to Note for a Budget Acoustic Treatment

Next, we show how musicians execute acoustic treatment, and how you can execute one on a budget. Here they are.
1. Prioritize Critical Zones
To maximize the impact of acoustic treatment at your home studio, concentrate on corners where low frequencies accumulate. Also focus on the first reflection points at side walls, ceiling, and the rear wall.
2. Use Affordable Materials
Regardless of your restricted budget, choosing the right materials can make a world of difference. For instance, get cost-effective diffusers at the back for preventing overly dry sound quality. Also place bass traps in corners to prevent overly dry sounds. Use absorptive panels for mid and high frequencies while ceiling clouds can help with managing vertical reflections.
3. DIY Solutions and Improvisations
DIY solutions and Improvisations are almost non-negotiable for a cost-effective acoustic treatment. Examples of helpful DIY ideas for your home studio’s acoustic treatment include acoustic fabric, rock wool, and panels built with wooden frames.
These ideas are generally inexpensive and provide excellent results. Also, where necessary, consider improvising and exchanging purchasable items with domestic alternatives to cut costs.
4. Balance Absorption and Diffusion
One common mistake to avoid is over-absorbing the studio room in a way that breeds unnatural sounds. Effective acoustic treatment balances diffusion at the rear wall against absorption at early reflections and low frequencies to maintain natural sound.
Set up Your Budget-Friendly Home Studio (Step-by-Step Plan)
Suppose you’re wondering how begin creating a budget home studio for yourself. These steps can come in handy.
- Diagnose your room and locate reflection points.
- Install absorptive panels at first reflection points.
- Add bass traps in corners.
- Use heavy curtains and rugs for extra absorption.
- Add diffusers if your budget permits.
Common Errors to Avoid During Acoustic Treatment
Let’s see common mistakes inexperienced musicians make during acoustic treatments that undermine their audio quality. They include:
- Using only thin foam, which cannot control bass frequencies.
- Placing monitors without considering listening position.
- Overloading the room with absorptive panels, creating a dead acoustic environment.
- Failing to plan investments: acoustic treatment for home studio should start with the most critical areas.
Conclusion
Acoustically treating a home studio is critical for professional results, regardless of your budget. The aim isn’t to spend heavily, but to implement swift, effective solutions, while prioritizing critical areas and leveraging affordable materials. Consider working with the step-by-step plan in this guide and you’re ready to enhance the clarity and quality of your next mixes and recordings.